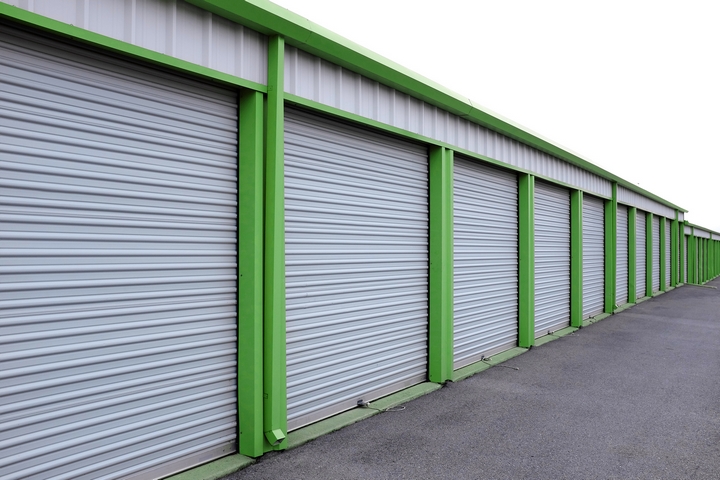


Gravity keeps us on solid ground; we contact the Earth with our bodies and vehicles. In our homes, the garage tends to get the most abuse with housing our cars, tools and a host of other items and tends to be a place for storage and work combined.
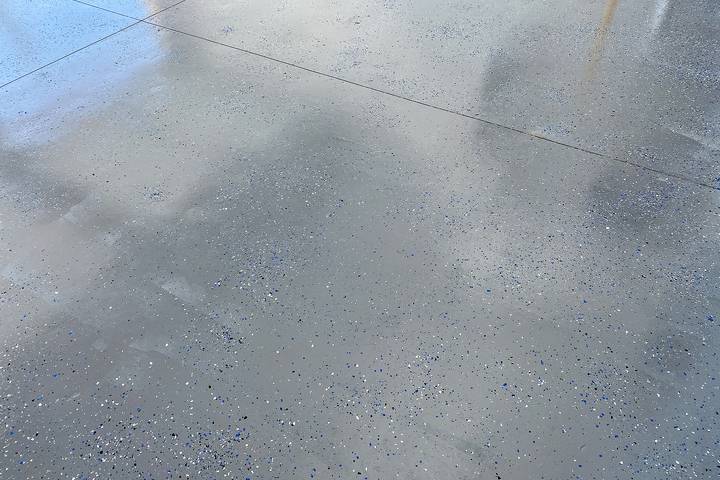
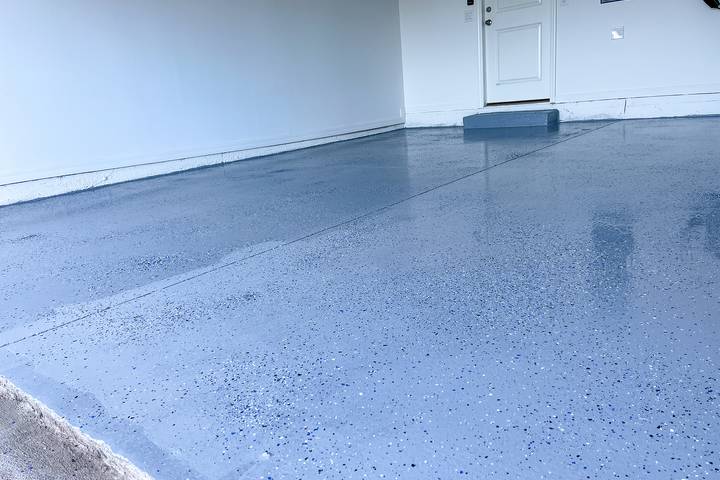
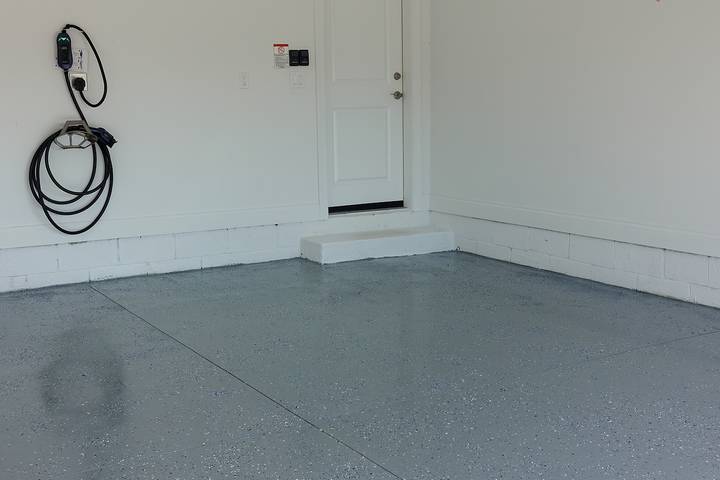
Your garage floor is typically poured concrete, and while polished concrete is an amazing finish inside the home, the garage needs something more durable and high-performance to withstand heavy loads. Epoxy flooring is perfect for this area. This synthetic resin floor system adds protection and decoration.
Are you looking to coat your floor and not sure where to start? Here is how to prep your garage floor for epoxy.
1. Start with a Blank Slate
If you want to do a good job with epoxy on your garage floor, remove it completely. This way, you know what you are dealing with and don’t have to shuffle around things once you start the application. Park your vehicle outside or on the street, and then get to work finding places for everything else.
You may have to rent a portable storage container or fill up your shed and back deck for a temporary solution. You want to be free of all obstacles, including shelving, unless it is permanently connected to the floor or walls.
2. Clear Clutter and Sweep
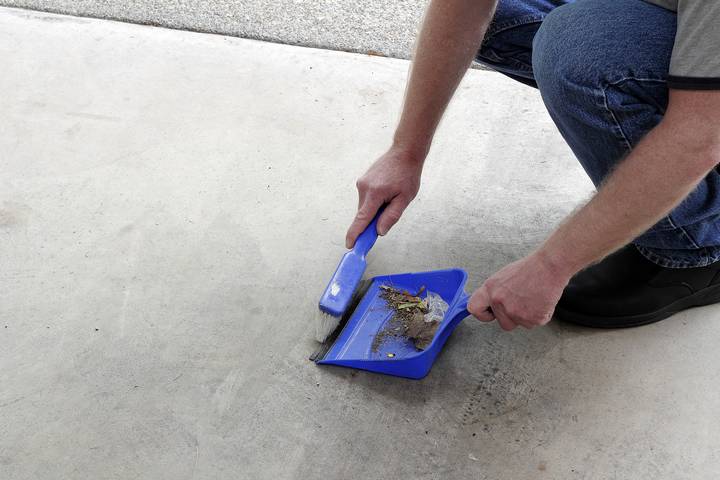
Now that all the big stuff is removed, it’s time for a good sweeping. This will remove any small clutter, debris and dirt so you can see if there are any repairs to make on the concrete surface.
Use a small broom for the corners and if there are any oil stains, use a degreaser and brush to remove as much as possible. Then finish up by vacuuming any leftover dust.
Depending on the application, you may use:
- Acid Etching An acid solution is spread onto the floor and then brushed in. After around ten units, it is washed off with power or vacuum to remove the residue.
- Diamond Grinding restores the smoothness of the floor by removing any surface irregularities.
- Shot Blasting This uses a machine to blast metal beads onto the floor to remove stains
Cleanup is required after these prep applications and will involve sweeping and vacuuming.
3. Garage Floors with Existing Sealant or Paint
Your garage may have already been covered in the past with a form of sealant, epoxy or paint, and you want to bring it back to bare concrete again for the best results. This means removing the old covering.
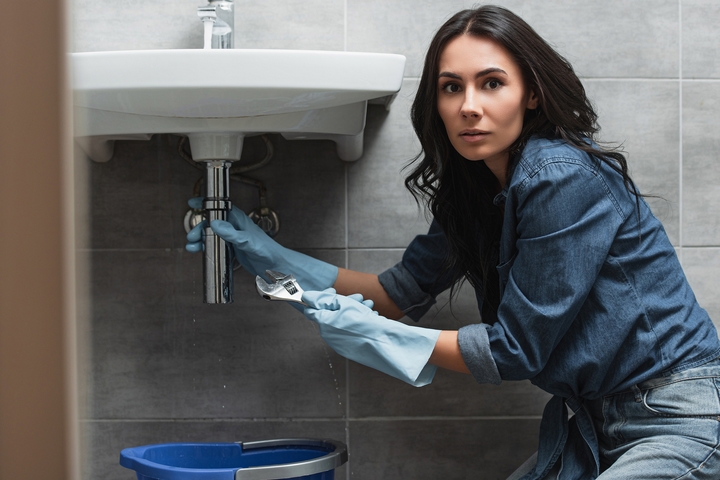
Typically, you can use a stripping agent or chemical paint remover to get the job done or try turpentine or mineral sprints for a less toxic alternative. You will have to give the product some time to do its job, and this could be from 30 minutes to up to 8 hours, depending on the brand. Remember, any chemicals you use can be toxic to the skin or breathing in, so put on your PPE before this step.
First, ensure the floor is free of dust and debris, and apply an even coat on all painted areas. Then you can use a putty knife or wire brush to remove the paint or coating. This is a tough job, but it is worth the effort.
Afterwards, stains may be left behind, but you can use soap and water for latex paint and a power washer for tougher stains from oil-based paint. Hose the surface off and allow it to dry fully before moving on to the next step.
4. DIY or Professional Application
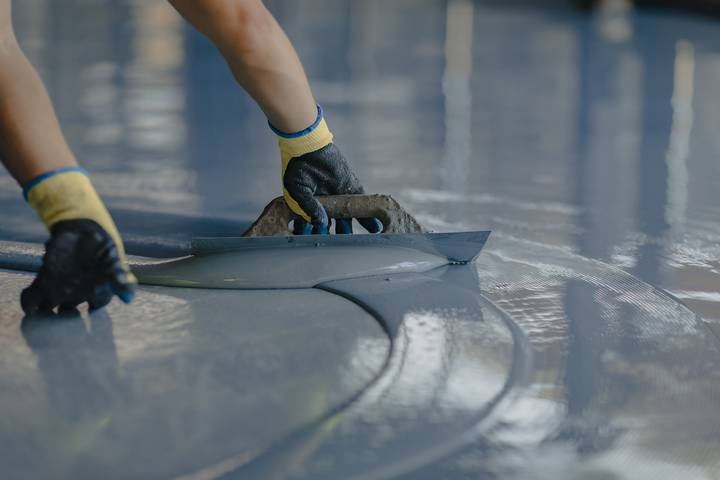
Prepping your floor and applying epoxy is not for the faint of heart. It can be done by yourself, so if you are handy and ready to take on a tough project, you can get all the supplies needed or even an epoxy stripping kit from your local home improvement store.
If you’d rather have the professionals do it for you, it will save your back and get done faster. They have the right tools and a team of professionals to quickly prepare your concrete floor for epoxy. They may also be the team you hire to apply the epoxy, leaving you with a beautiful finish in your garage.
Applying epoxy to your garage floor will ultimately protect the concrete, make it more durable, hide any defects, make it safe to walk on, and improve the look. The finished product is well worth the effort, but it all starts with prepping the floor.
Use this as a guide to getting your garage floor prepped for epoxy, and then once the job is complete, enjoy all the benefits and appeal it has to offer for years to come.